Fringe Tablecloth DIY
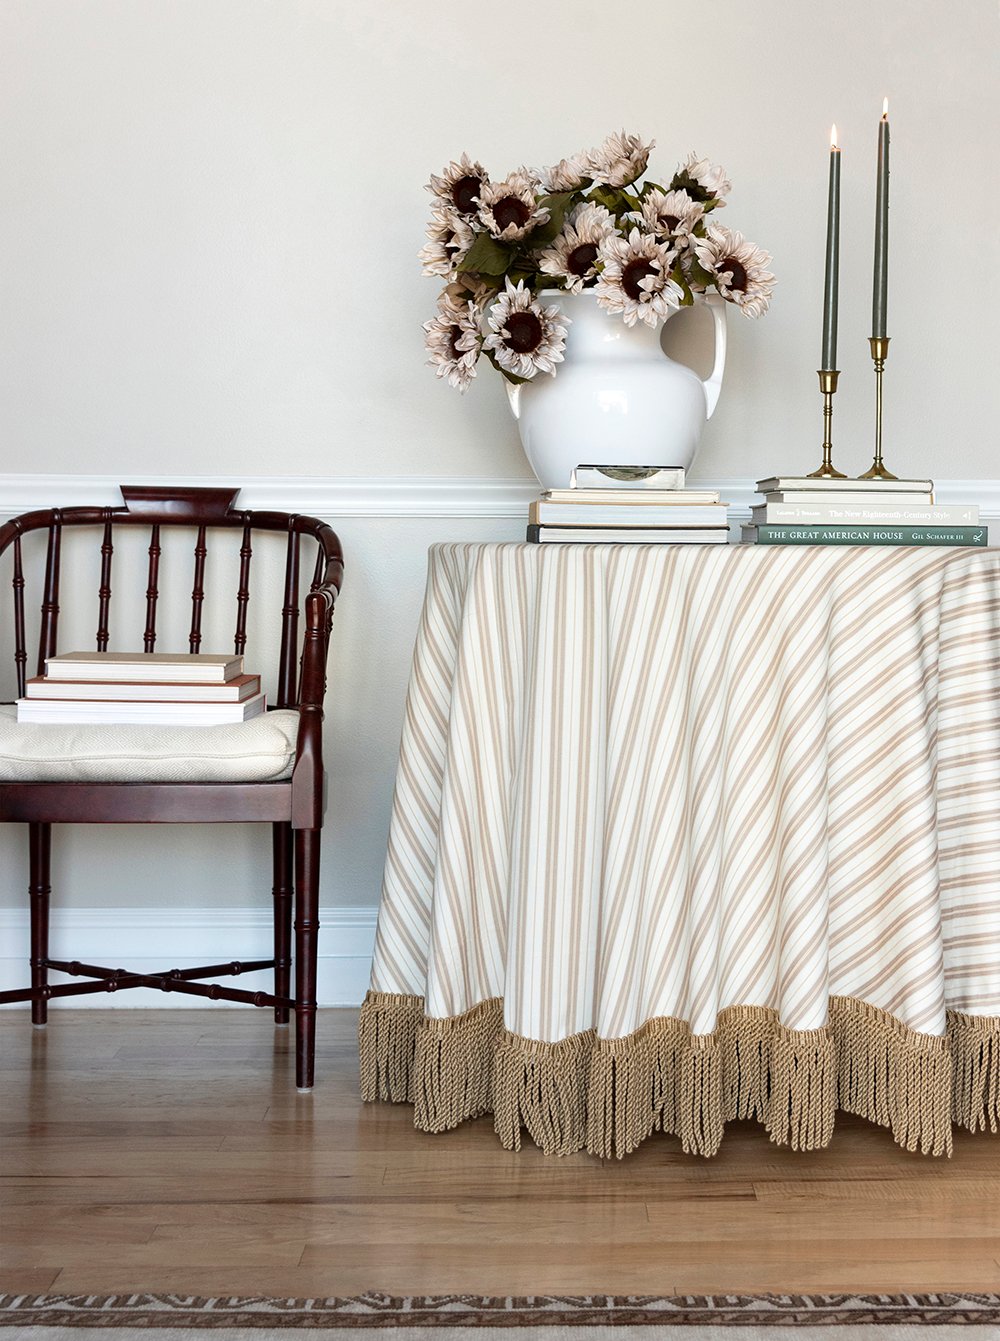 Hi! How was your weekend? We enjoyed some fall festivities at Oktoberfest! In other news… our entry tile is held up in transport, so our entryway renovation is on hold for the time being- which is fine since we’re in no hurry. As I’ve been adjusting and styling our home for fall, I wanted to freshen and give the entry vignette a little love. While I really like my marble table, I’ve been digging the softness that my “faux tablecloth” (a cheap throw blanket), added to the space… check that out in this post. I thought it would be fun to sew a tablecloth and share the end result with you, because you know how I’ve been loving skirted tables this year! I’m enjoying how it’s looking with our fall front porch, which I’ll share soon! Click through for the budget-friendly tutorial or pin this one for later!
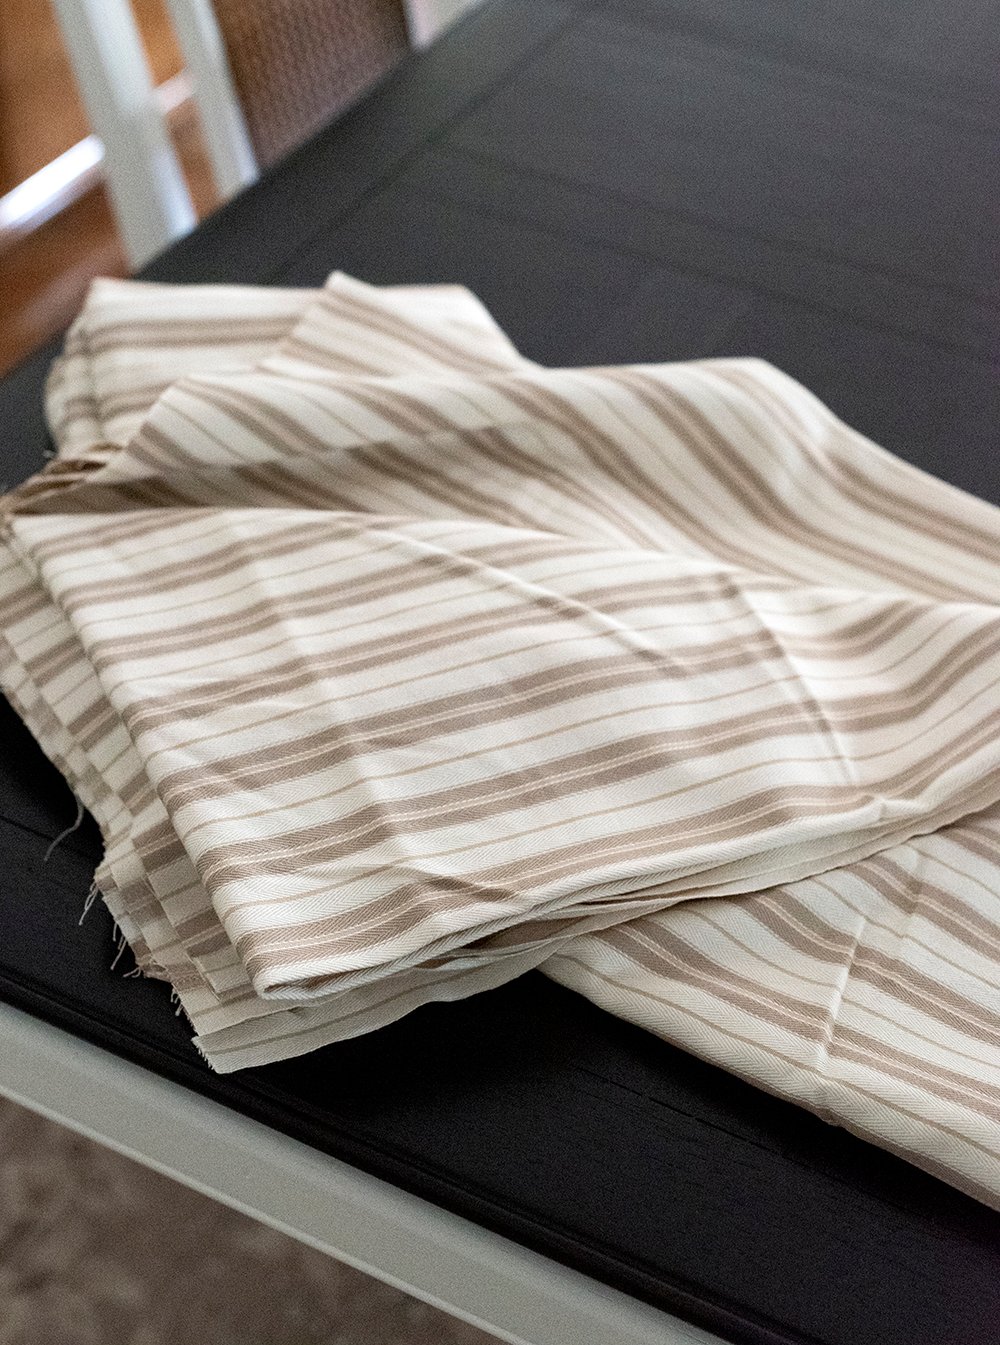 I’d categorize this as an easy or beginner sewing project. It really doesn’t take much effort, and is relatively affordable for a higher-end look. I ended up getting 5.5 yards of fabric from the sale bin at Joann’s for $7/yard. I already had plenty of thread in my sewing kit, and the most expensive item was the trim or fringe- but that’s totally optional. That was more like $20/yard. My point being- this project doesn’t cost much and it’s a great way to soften any table vignette or hide a round table you don’t really love. I just felt like switching things up!
SUPPLIES + TOOLS:
- sewing machine
- fabric (I used 5.5 yards for a 36″ round table)
- fringe (optional)
- thread
- round table (mine is linked)
 I started by calculating how much fabric I needed to buy. Since my table is 36″ round, I used that number and added the drop length times two, to calculate my total. My table is 30″ tall, so my math looked like this: 36+30+30=96… then I added an extra inch (97 inches total) to account for the hem. I couldn’t find fabric that wide (it’s not common), so I ended up sewing two pieces of fabric together to achieve my 97″ square.
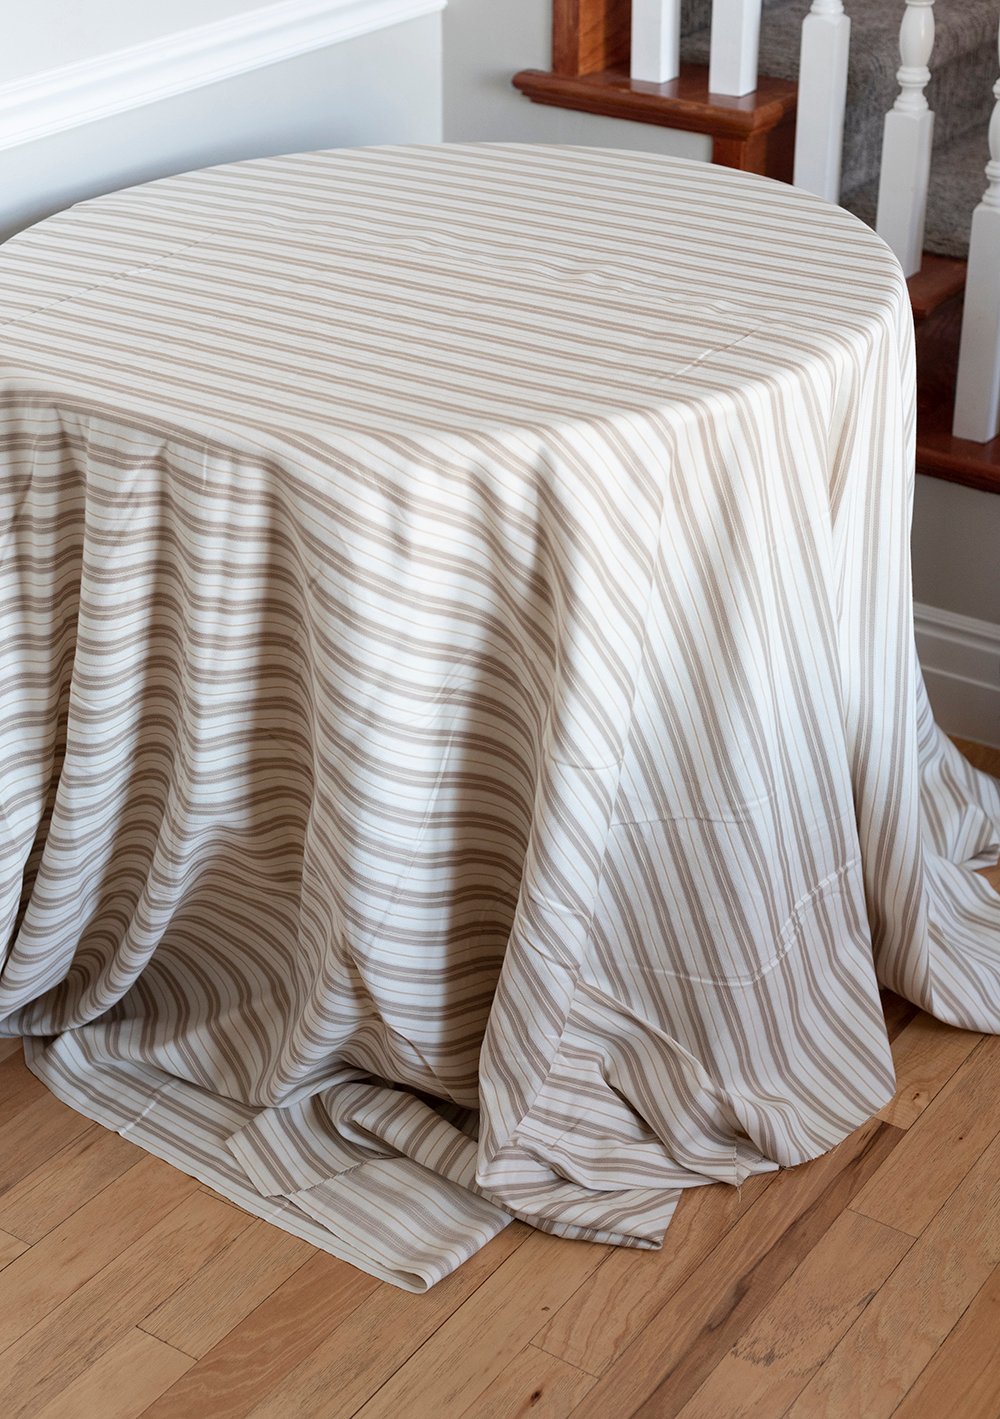 After sewing the two pieces together and cutting them to the 97″ square, I draped the fabric over my table to check things out. Obviously there will be plenty of excess, and we’ll need to cut the fabric to a circle.
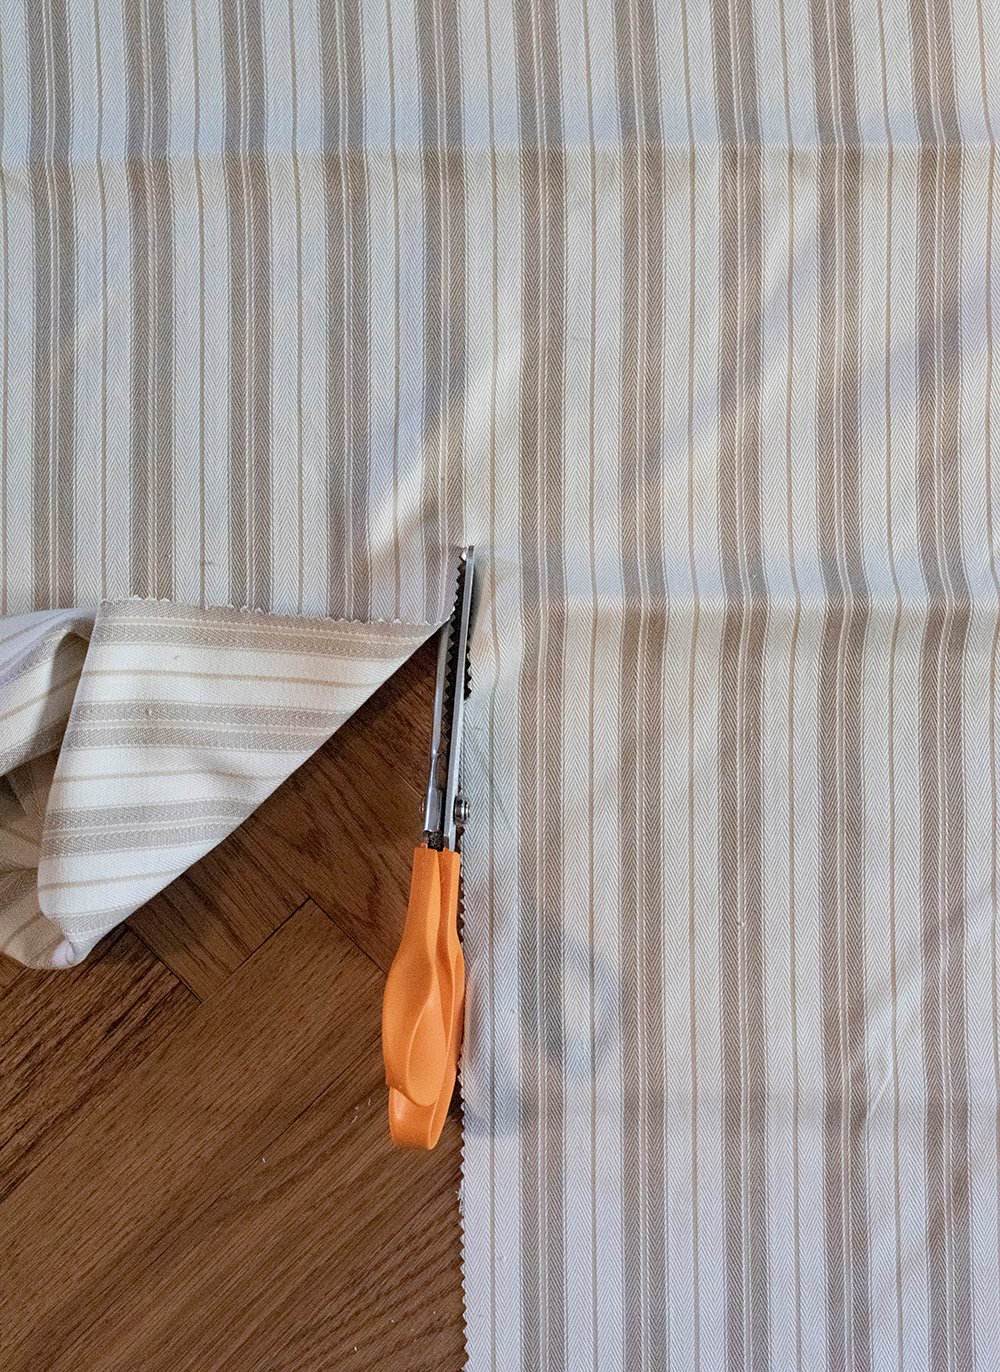
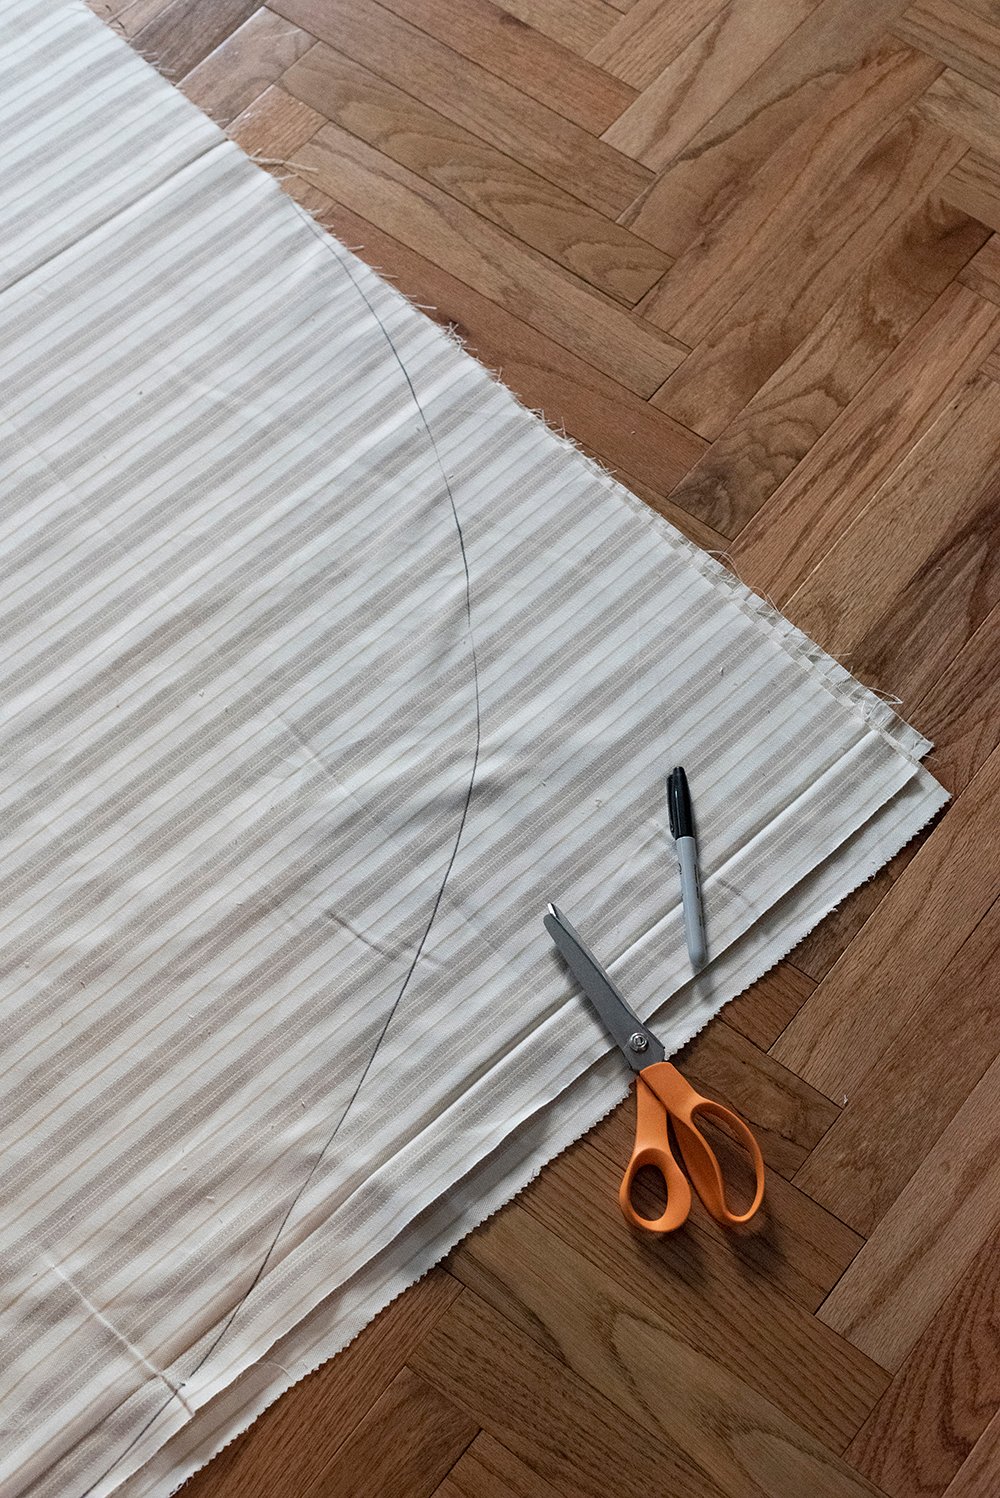 The best way to cut a circle when working with large fabric is to fold the square in perfectly half, then in half again in the opposite direction… then I measured the center point of that square (which is 1/4 of the starting size) and held a sharpie attached to a string to draw my arch on the outer two corners. I cut along my guideline, and once the fabric is opened up- you’re left with a circle!
 After cutting, it’s always a good idea to drape the fabric over the table again to make sure your measurements were accurate. Your fabric should hit the floor, which will be perfect once you hem around the perimeter. Feel free to trim as needed while the fabric is on the table. I ended up taking off 4-5 more inches because I decided at the last minute fringe would be a cool idea.
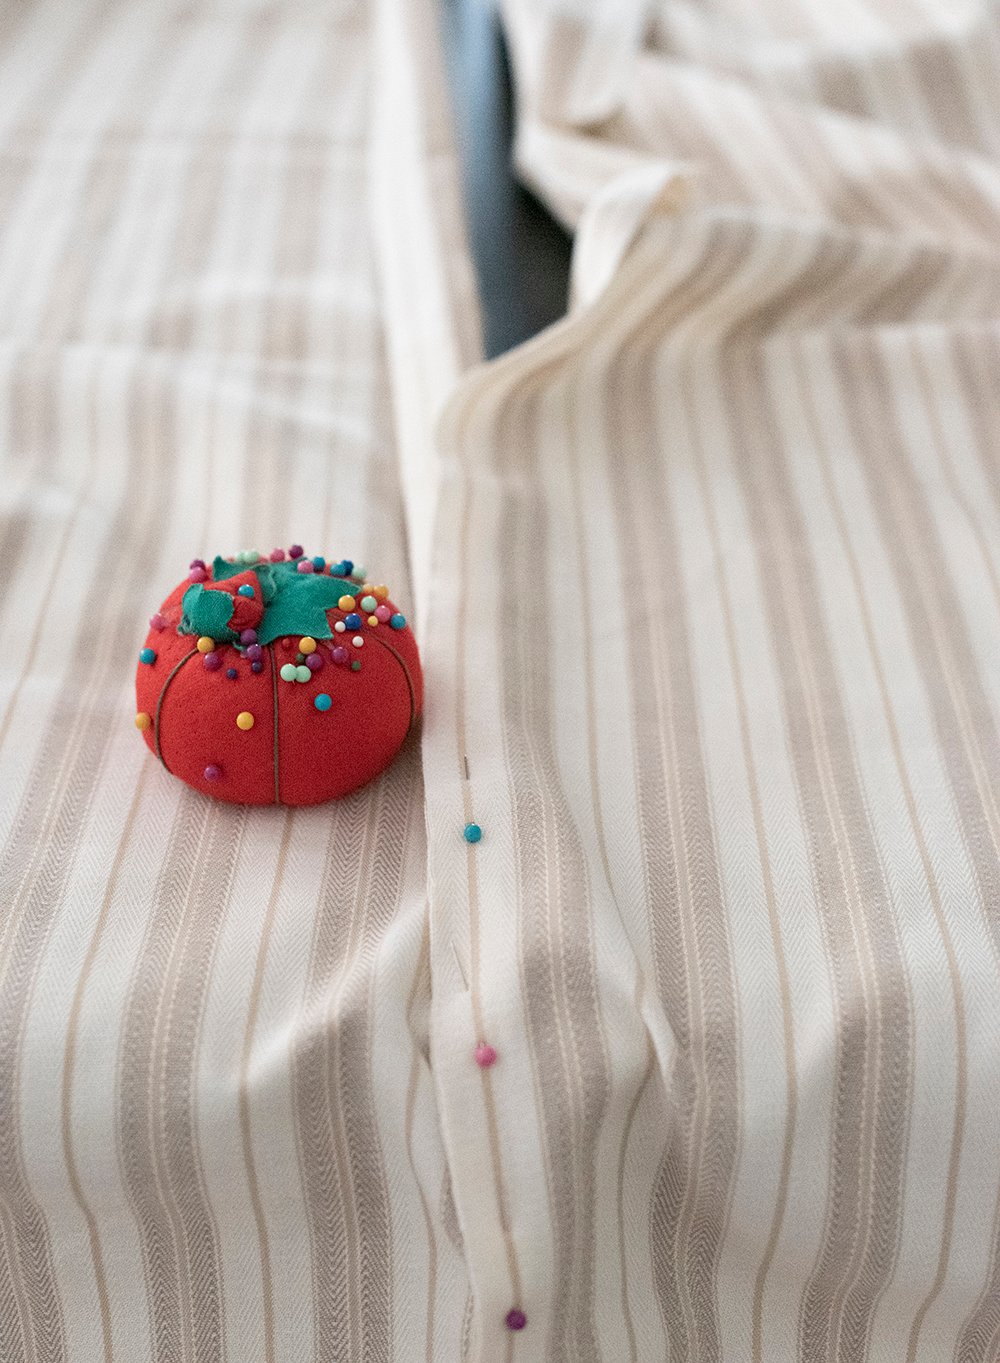
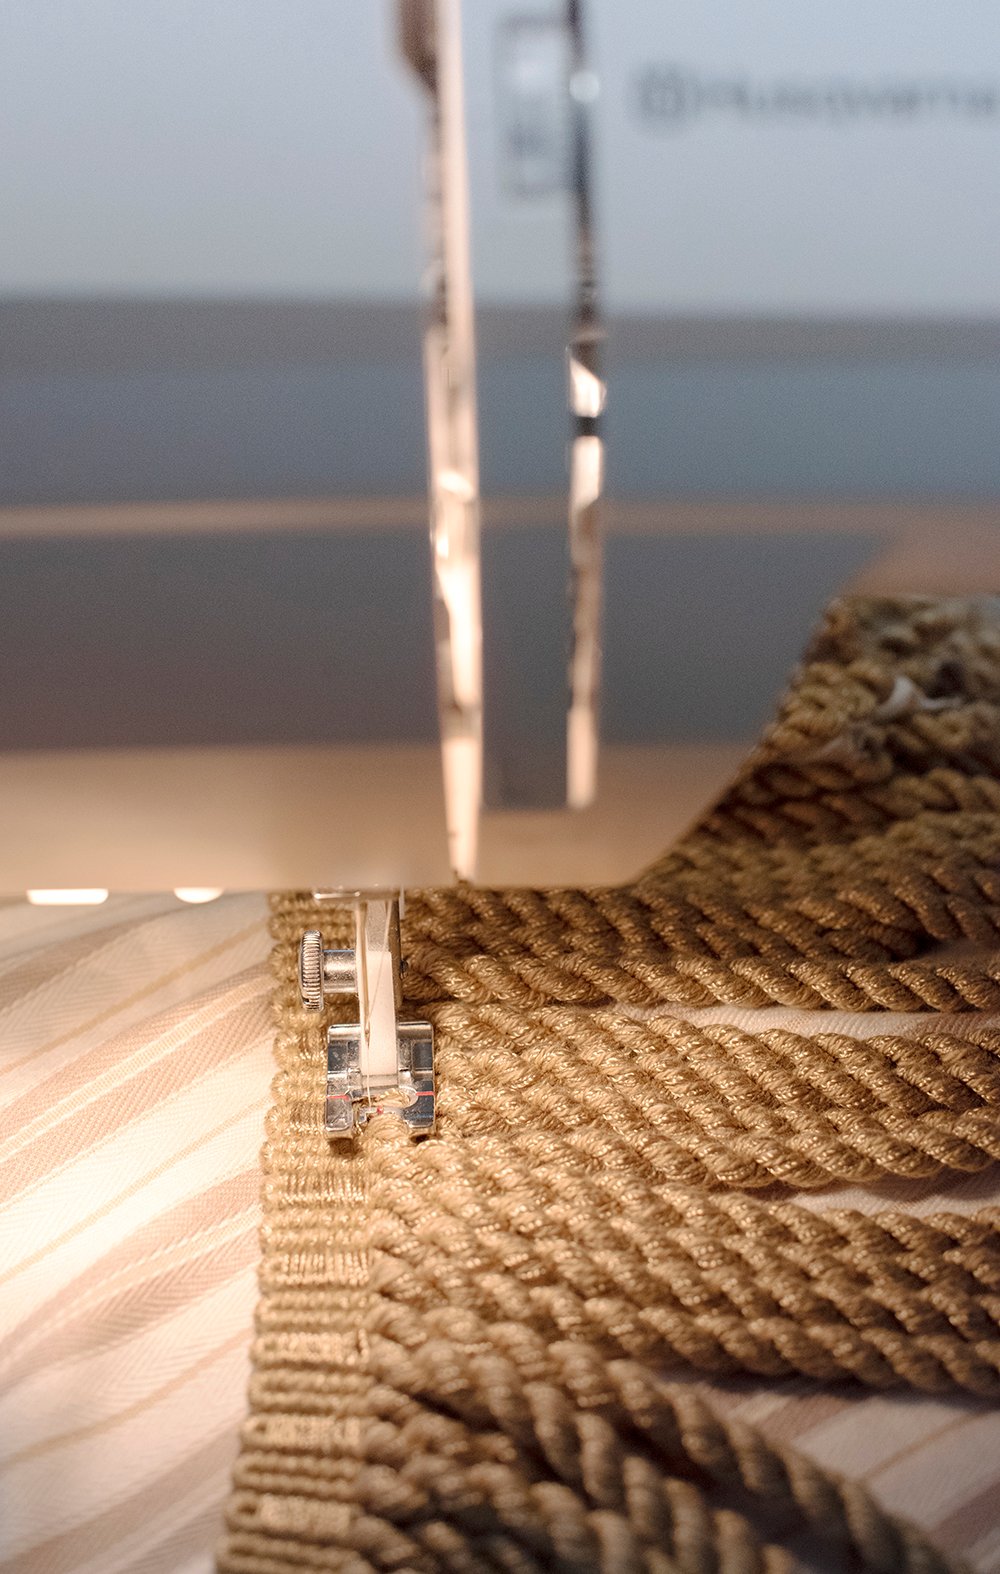
 I proceeded to pin the trim around the base, adjusting it as needed. The pins are really just a guide, but they’re helpful! Once I had it pinned, I starting sewing to permanently attach the fringe…
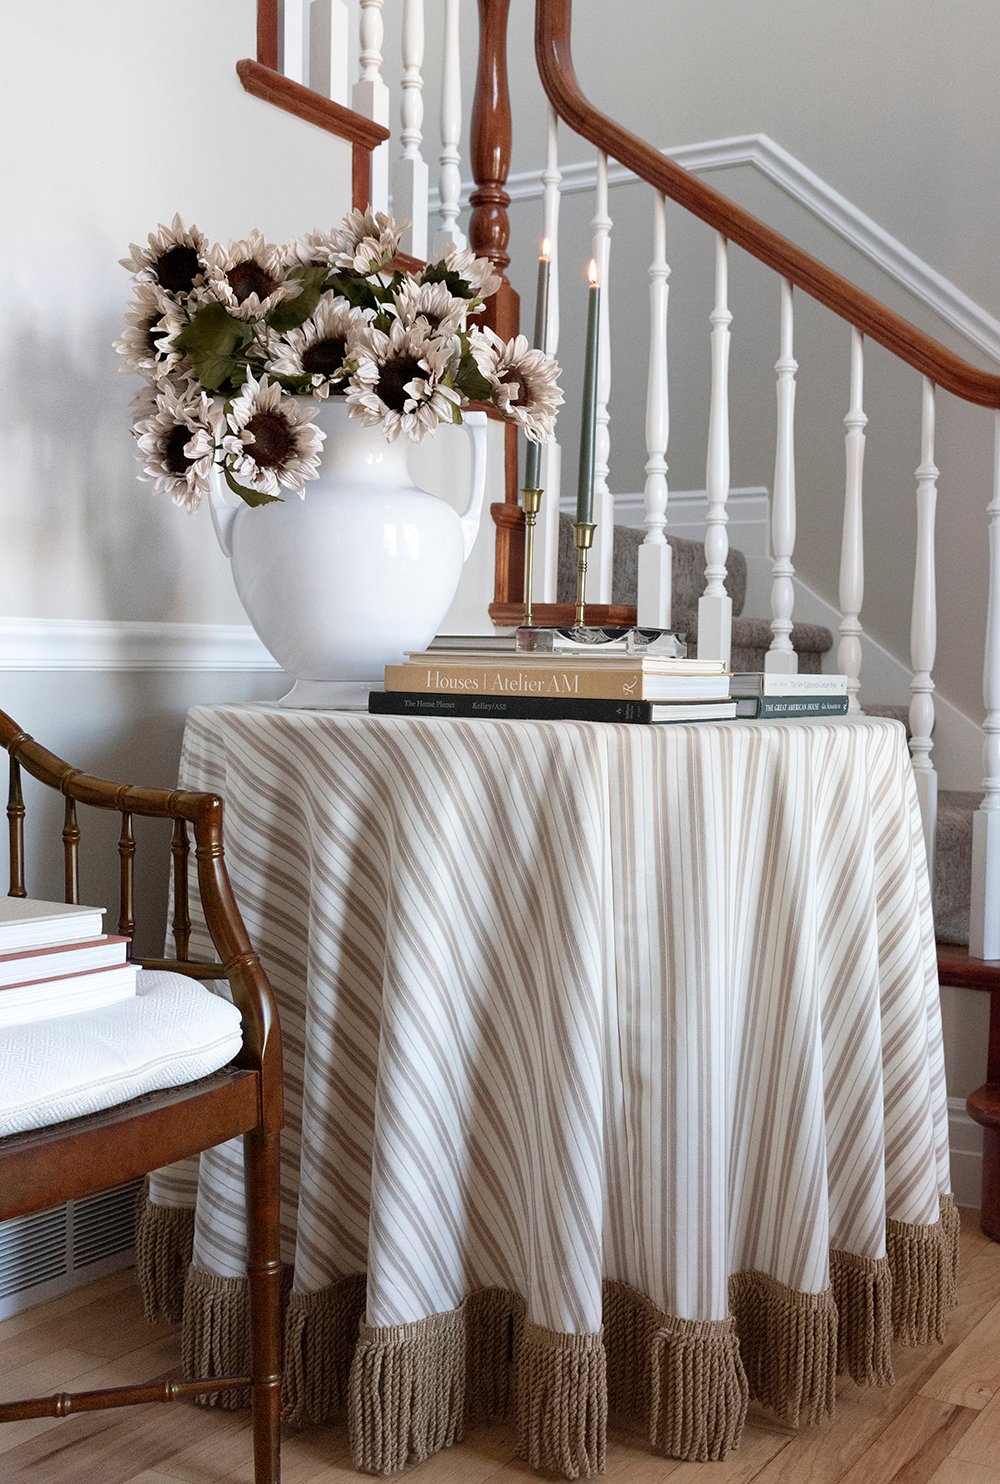
 The next step was to check the fit, steam or iron the fabric (which I didn’t do an awesome job at, if I’m being honest), and style! I was really pleased that it fit correctly and gave a nice tailored look.
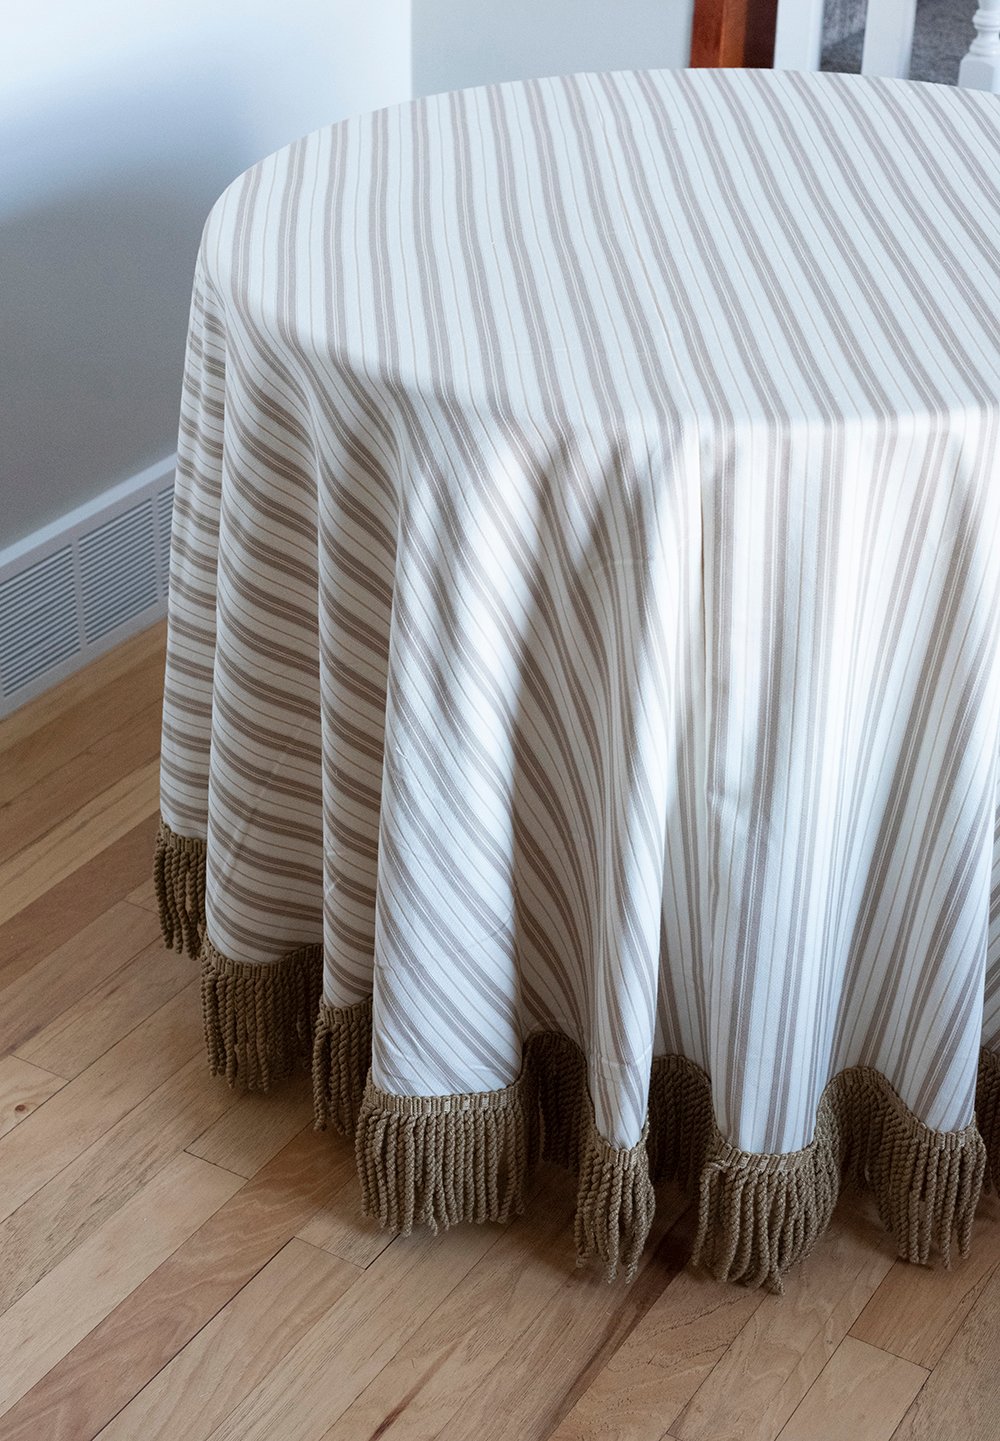 I’m really happy with how this turned out… not too bad for a quick, budget-friendly project! I think it looks especially elegant and feminine with the fringe, so I’m happy I decided to add that at the last minute. It also looks great next to our front door tassel– they somehow perfectly match! That was definitely a happy accident.
 You can also catch this tutorial saved in my IG highlights, if you’d prefer to see some of these steps in video format. If you’re not into sewing or don’t have a sewing machine, you could always buy a readymade round tablecloth and add your own fringe or appliqué. Fusing tape is super easy and only requires an iron- no sewing needed! Let me know what you think. Here’s to a productive October week ahead!
