
Adobe Premiere Pro has an amazing transcription feature that automatically generates and syncs captions for you. This is a huge time saver if you just want to do simple captions, but if you want to do anything more you are unfortunately out of luck. At the time of this article, caption tracks can not be animated like text layers. That means you can't add any keyframes to scaling, opacity, or positioning.
Luckily there is an easy workaround you can do if you'd like to animate captions and take advantage of automatic transcription. In this article we'll show you how to convert and animate Premiere automatic captions. If you are wondering how to use the automatic transcription feature read this article first.
How To Convert Captions To Text Layers For Animation
The workaround for converting captions to text layers for animation requires a few steps. But most of it is simple copy and pasting. Once you get the hang of the process it's super quick for when you want to animate your auto-generated captions. Watch the video at the top of the article or on our YouTube channel to see this process in-depth.
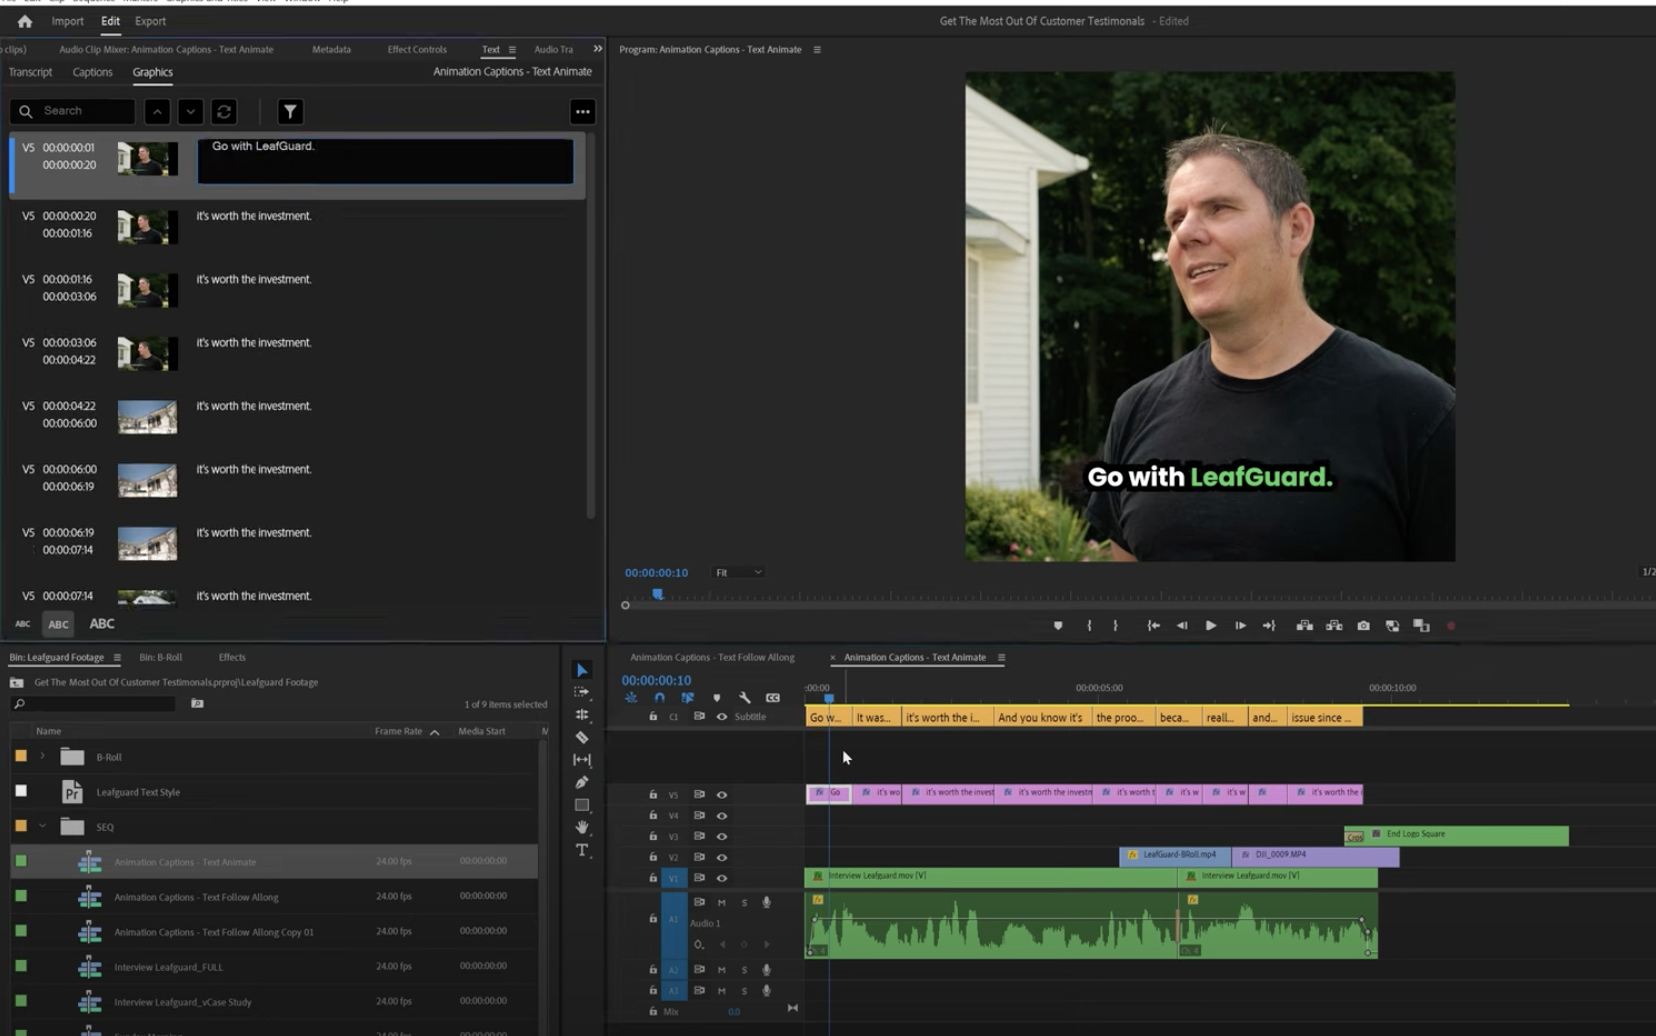
1. Create a Text Layer and Copy Over Caption Styling
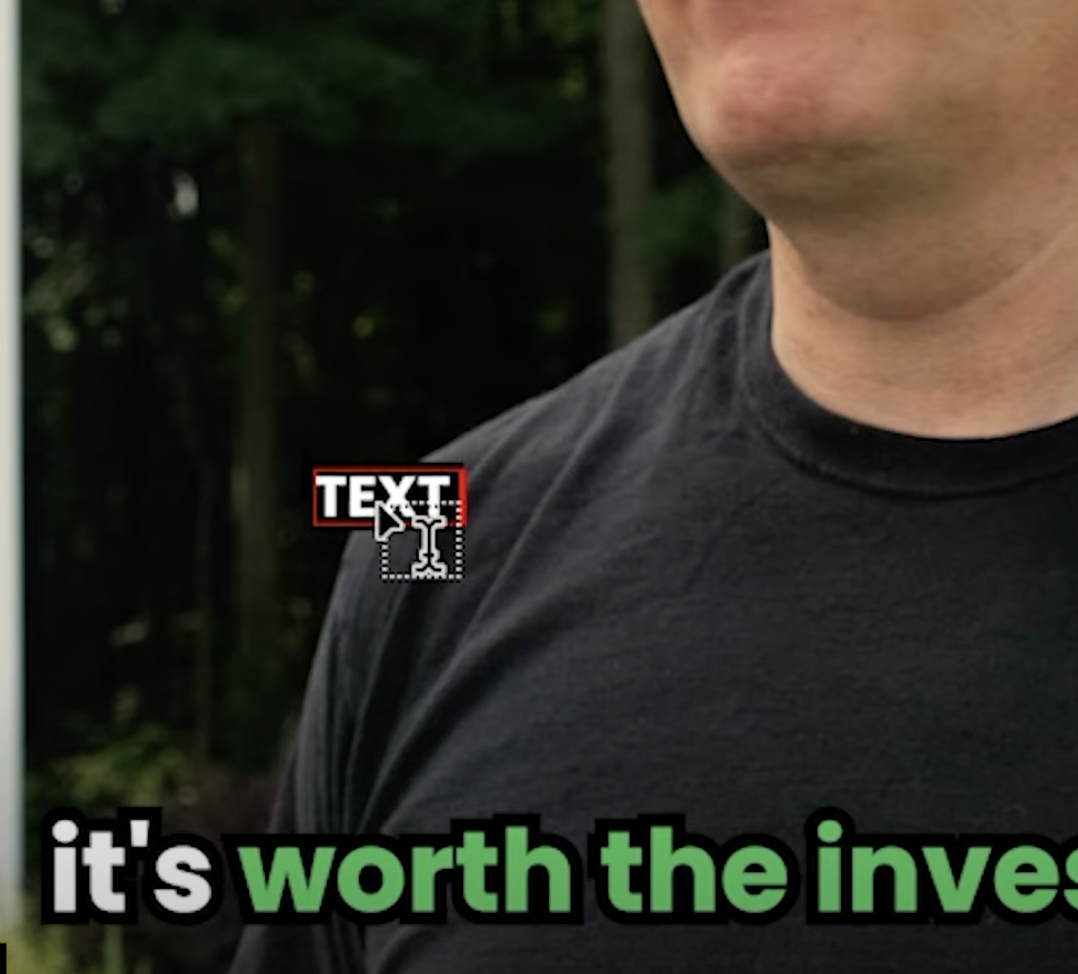
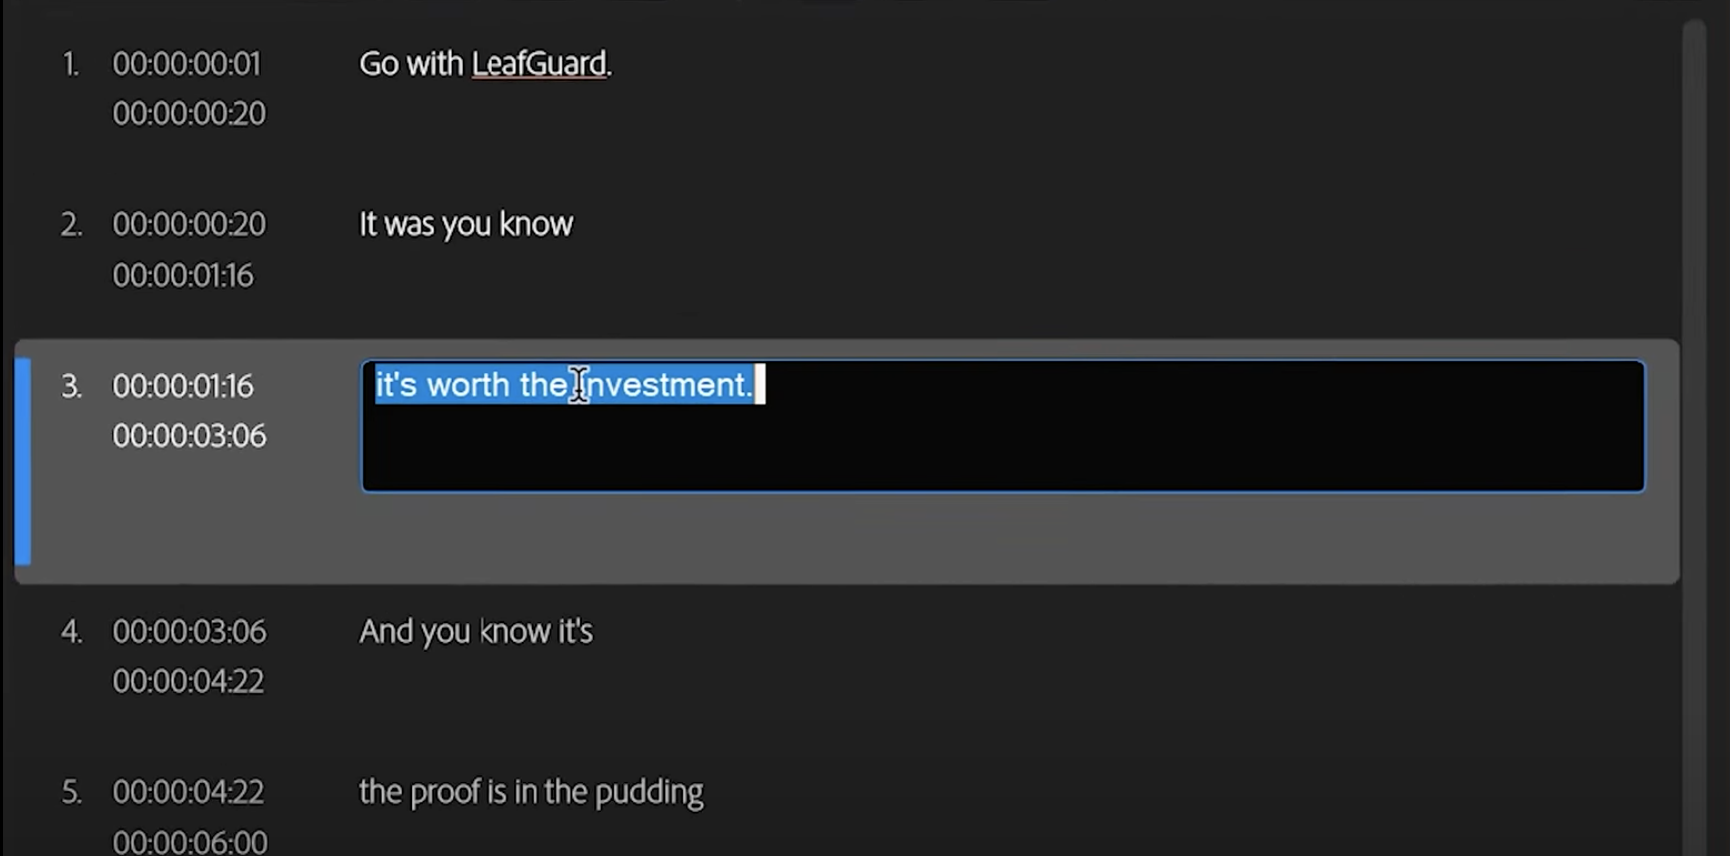
Start by using the text tool to create a text layer. For now type anything as we will be copying over the text anyway. Double-click on the caption layer to open up the text window, which will allow us to copy the text. Double click that same caption and copy it. Now open the text layer and paste in that text. This will copy over the spelling and styling.

2. Size Text Layer
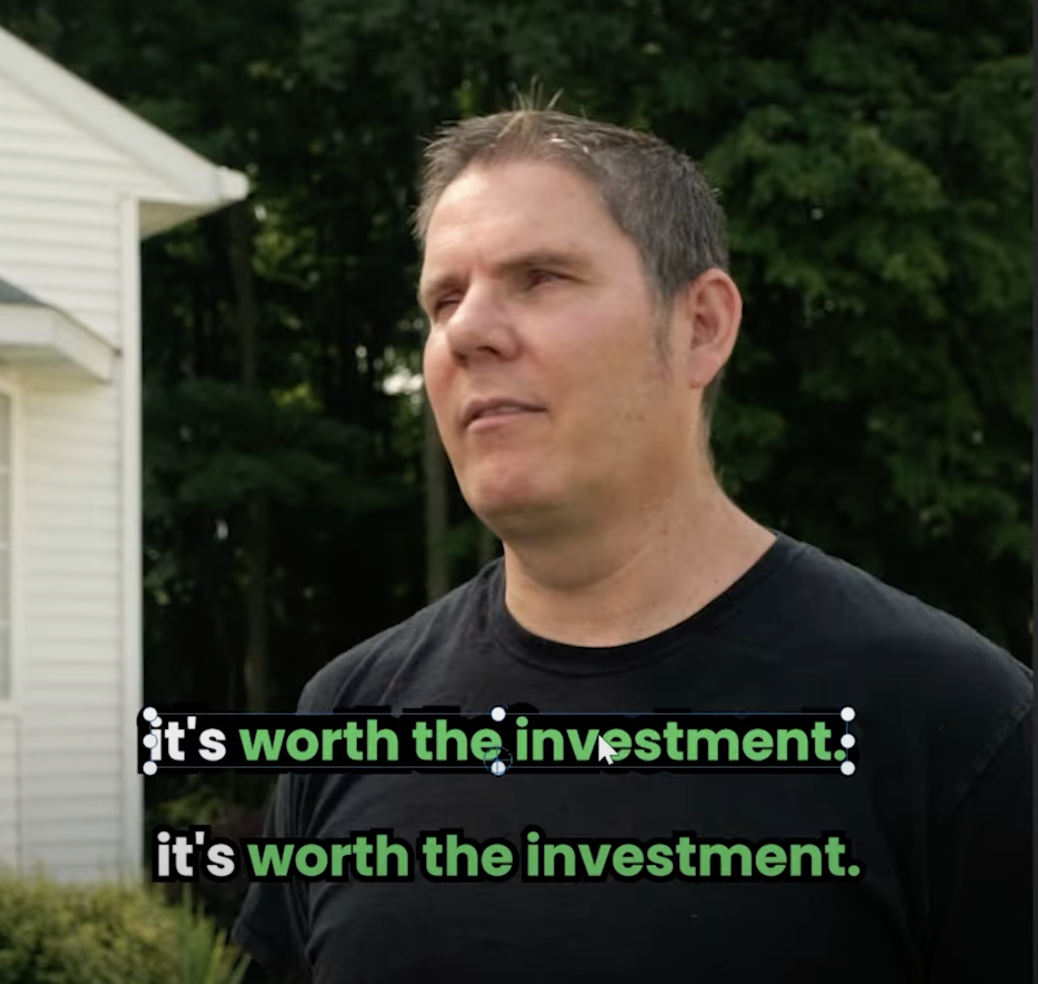
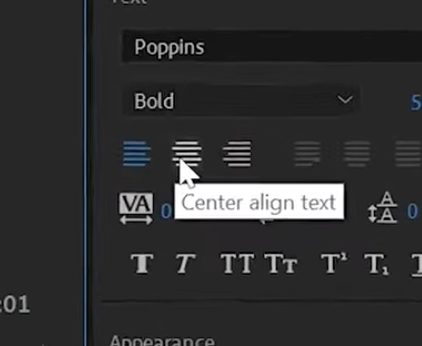
You'll want to scale and position the text to match that of your caption track. It doesn't have to be perfectly aligned, just get it close to your caption layer. It's important to make sure your text is center aligned so that other captions align properly when you create them.
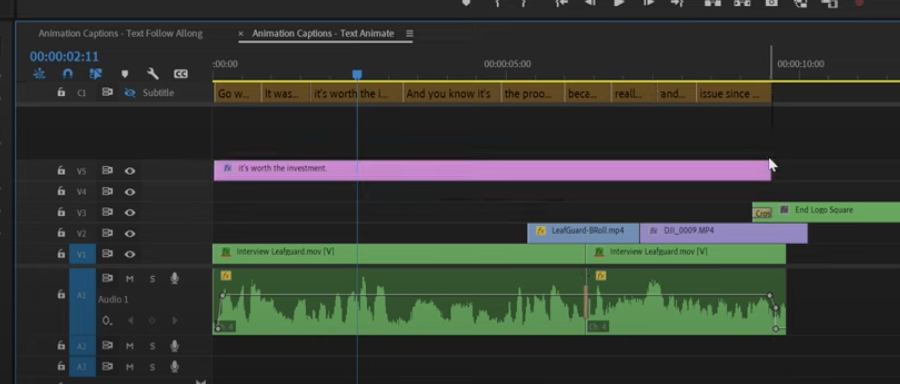
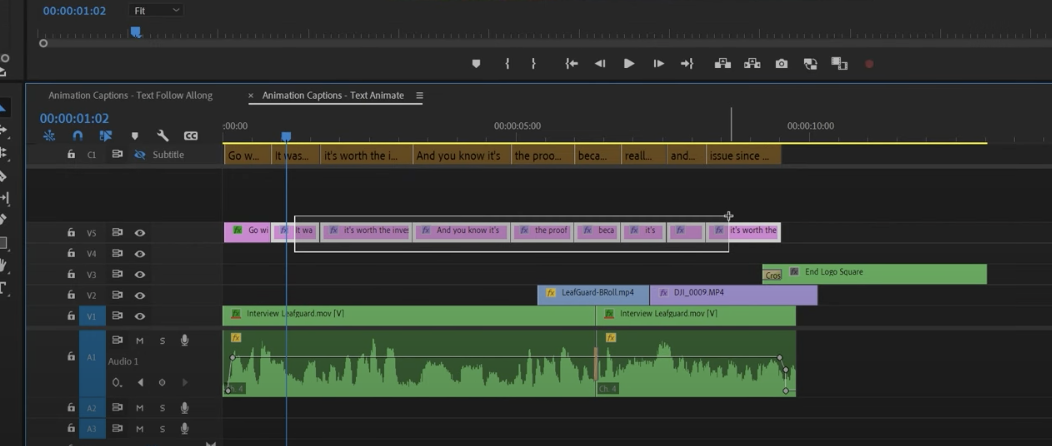
3.Stretch Text Layer and Cut At Each Break
Stretch the text layer so that it encompasses the full length of your caption track. Make a cut at each break. Turn on snapping to make this process easier.
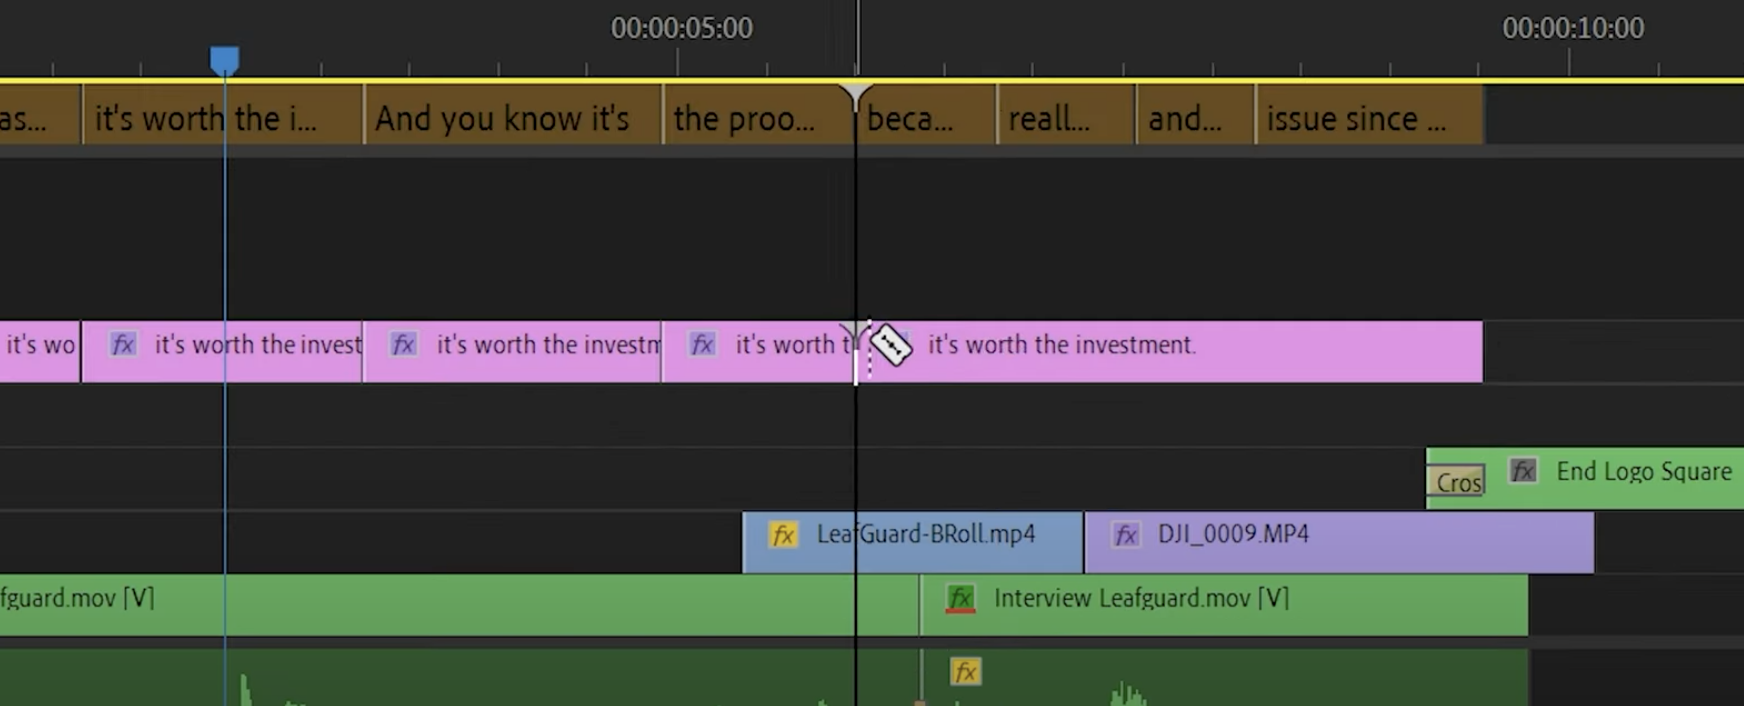
4.Copy and Paste From Caption Track
Now you just need to double-click the caption track that is above each text layer and copy that text over to the text layer below. This is the same process we did earlier when we copied over the first caption. Repeat this process for each section and then you have successfully converted your caption tracks to text layers for animation.
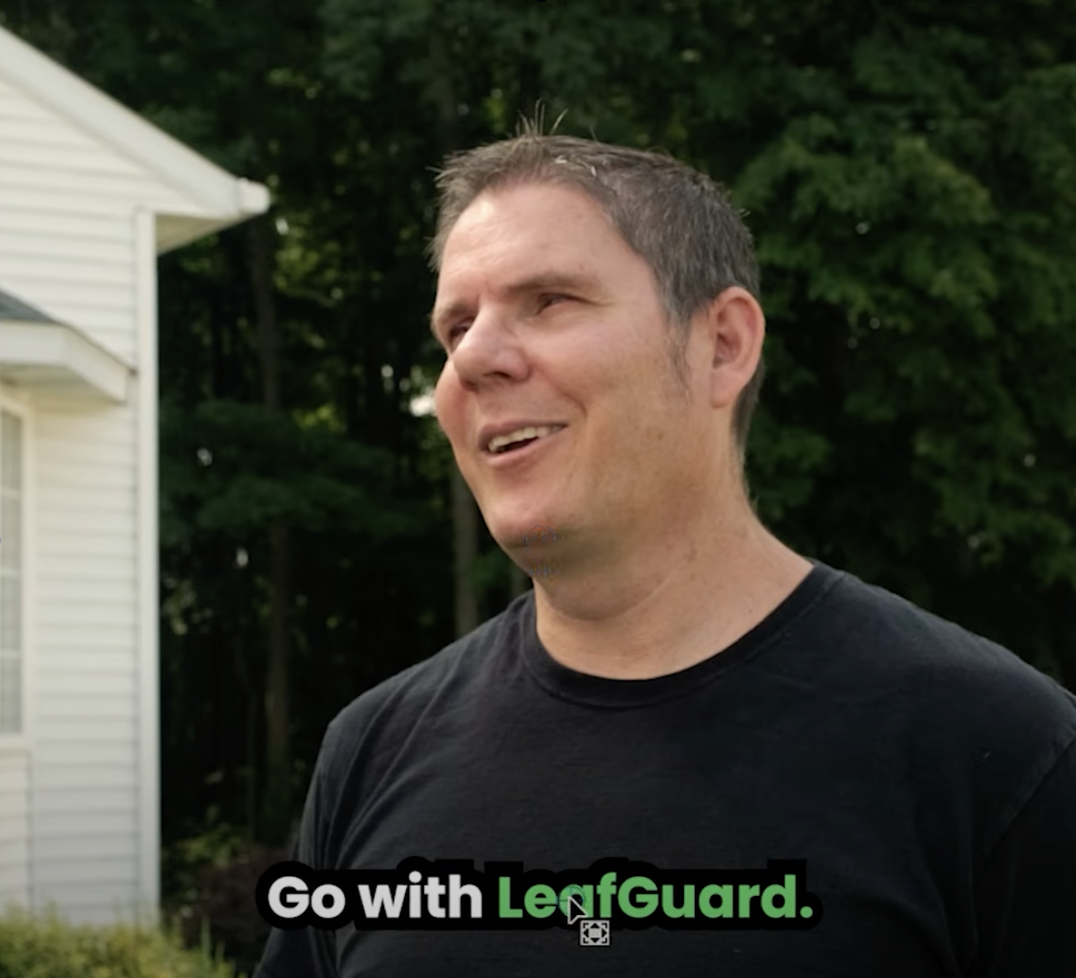
How To Create Pop-Up Text Captions
If you've watched any YouTube shorts, Instagram reels or TikTok videos you've probably seen captions where they quickly pop-in. This process is actually pretty easy to do and you can even create a preset to do this for you.
1. Animate Scale
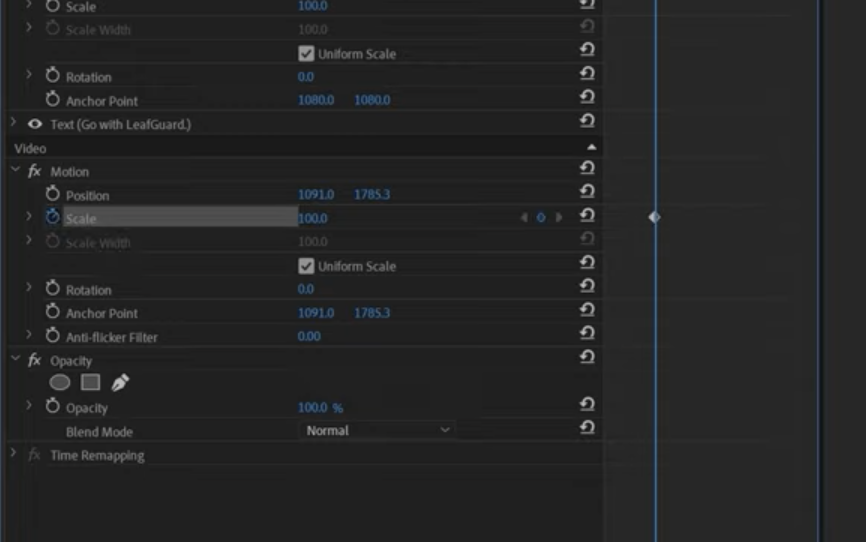
First click on any text layer. Navigate about four or five frames past the start of that layer and then open up the effect controls panel. Click on the motion tab and then move the anchor point to the center of the text layer. You'll see a small blue cross hair which represents the anchor point. You can move this with your cursor.
Now we can create a keyframe for the scale. Make sure you are still four or five frames into the layer. Click on the scale stopwatch. You'll see that this creates a keyframe. Now navigate back to the start of the layer and set the scale to 0. This will create another keyframe and automatically create the animation for you.
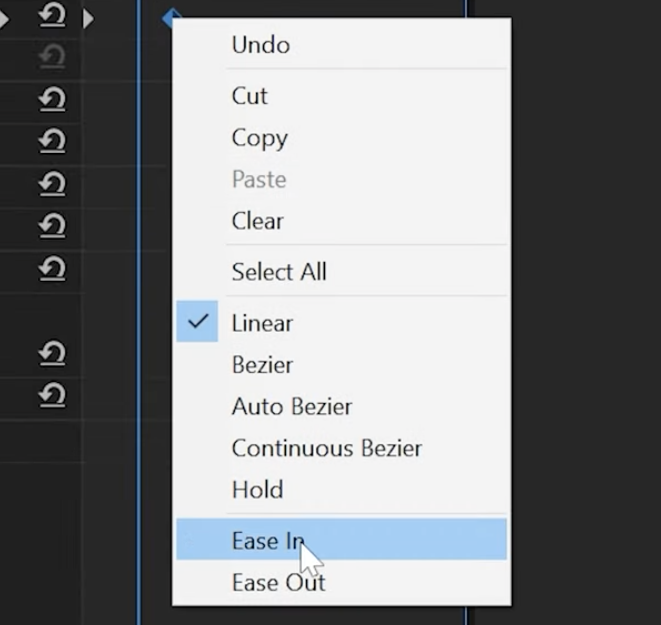
The animation we created is going to be linear, which is okay, but you can improve it by adding some easing to the animation. Right-click on the second keyframe and select ease-in. This will make the animation slowly stop which looks more pleasing when viewed.
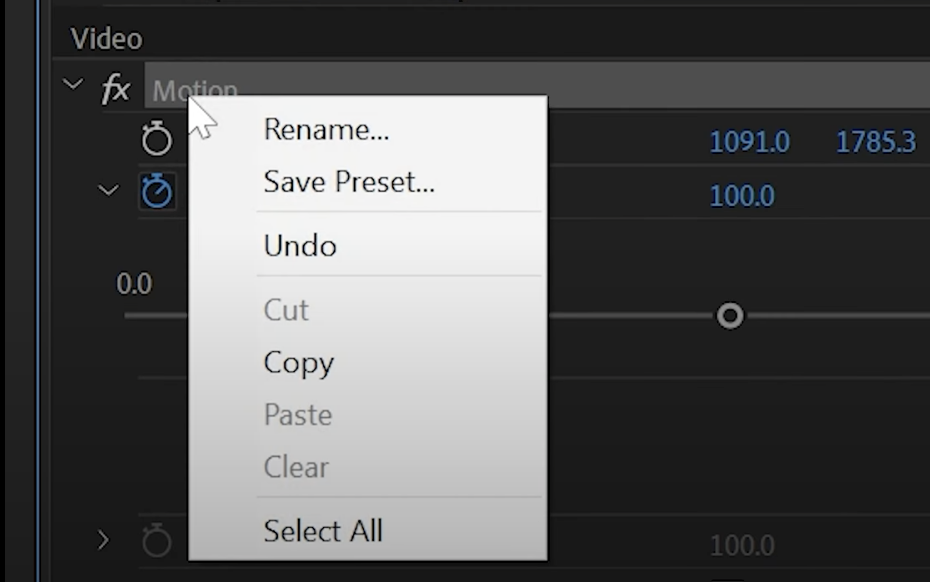
2. Create A Preset
Now we can create a preset for the animation we just created. Right-click on the motion tab and select "create preset." Make sure you select "anchor to in point" so that the animations scales correctly.

In the effects window you can now search for your new preset you created. Simply drag this onto the remaining text layers and then you have all of the captions automatically animated!
Watch our video to see the final result and to learn more about animating auto-captions in Premiere Pro. Need help with your short-form content? Contact us to discuss your video needs.


