The Perfect Desktop - Mandriva 2007 Spring Free (Mandriva 2007.1) - Page 2
This tutorial exists for these OS versions
- Mandriva Linux 2010.1 (Spring)
- Mandriva Linux 2010
- Mandriva Linux 2009.1 (Spring)
- Mandriva Linux 2009
- Mandriva Linux 2008.1 (Spring)
- Mandriva Linux 2008
On this page
Afterwards, specify the root password:

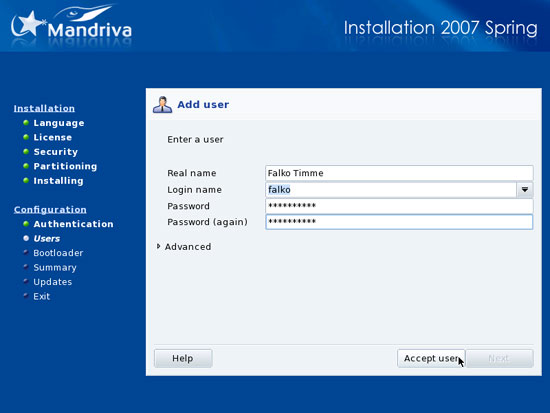
Then create a normal user account (falko in this example; that's the user we will use to log in to the desktop later on) and click on Accept user:
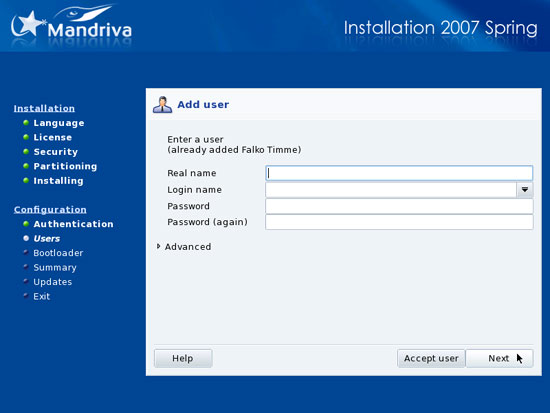
We don't need another user account, so we click on Next:
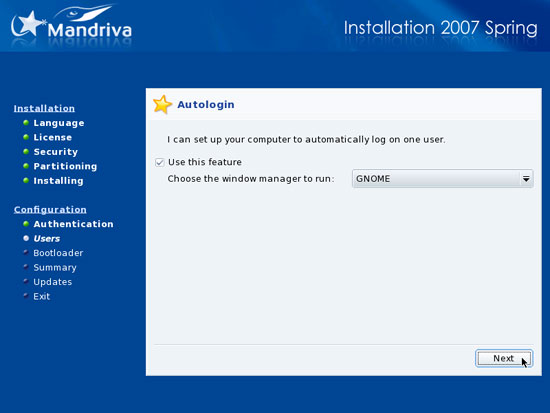
If you want your user (e.g. falko) to be automatically logged into the desktop when the system boots, you can enable this here. As window manager we select GNOME (since that's the one we installed):
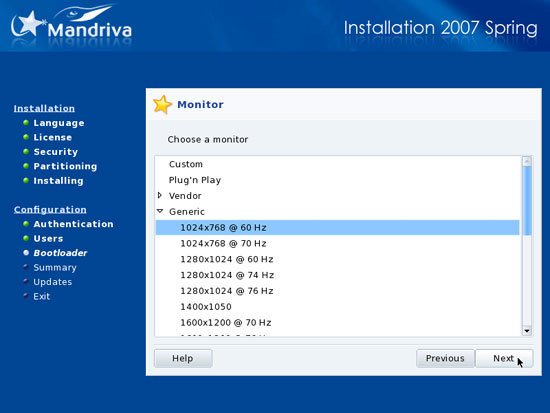
Afterwards, select your monitor model and the screen resolution that it supports (normally a suitable model is pre-selected):
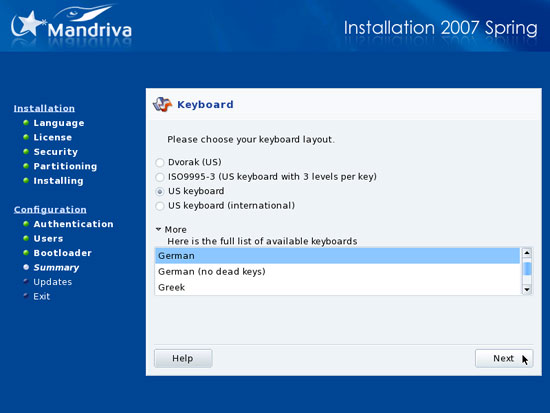
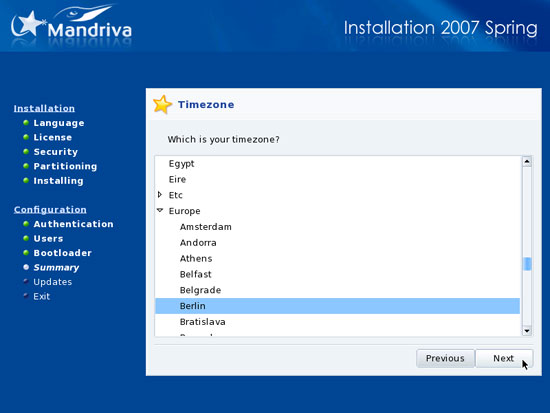
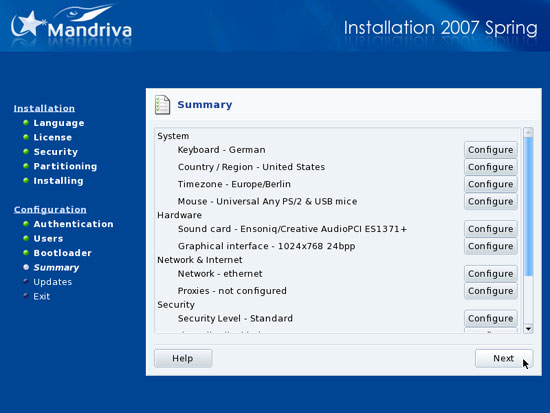
Next, the installer shows a summary of the current settings. If you like you can now change settings, e.g. your keyboard if you don't use a US keyboard. At least you should configure the time zone because that way we can enable automatic time synchronization (NTP):


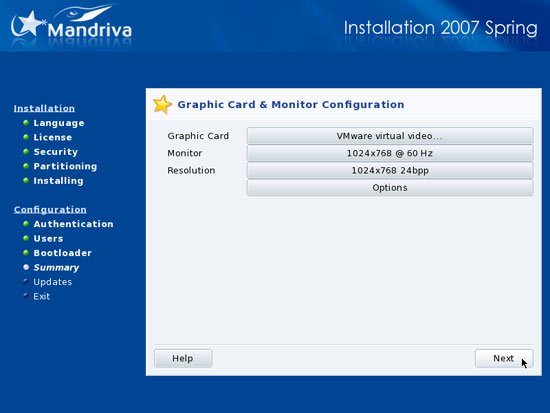
Next you can check your graphics card configuration by clicking on the Configure button right of Graphical interface. You can use the following buttons to change settings if necessary. If the settings are ok, click on Next:
Back on the Summary screen, hit the Next button:
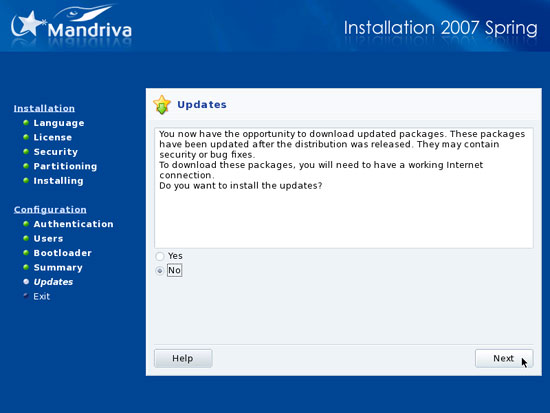
We will install updates later on from our Mandriva desktop, so select No on the Updates screen and hit Next:
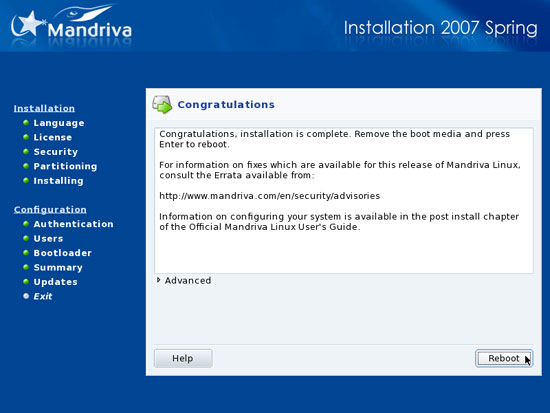
The basic installation is finished now, so remove the CD from the CD-ROM drive and click on Reboot:
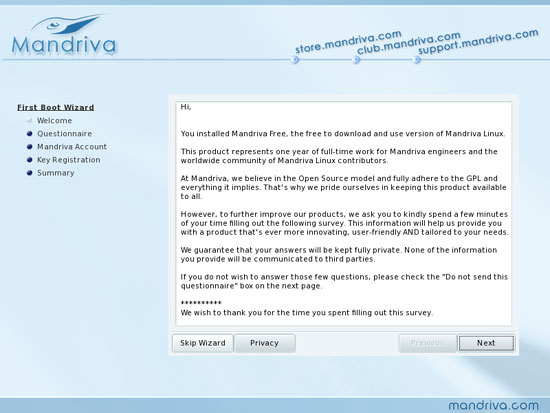
After the reboot, the First Boot Wizard comes up. This is just for filling out a survey, so if you don't want to do that, you can click on Skip Wizard: